Maps
Full zone maps for every area. Open a map to zoom in and switch between its named sub-areas.
Interactive maps
Pan-and-zoom maps with every chest kind, monster, escape point, merchant and resurrection spot plotted at its exact location — toggle the layers you care about, search, and mark spots as found.
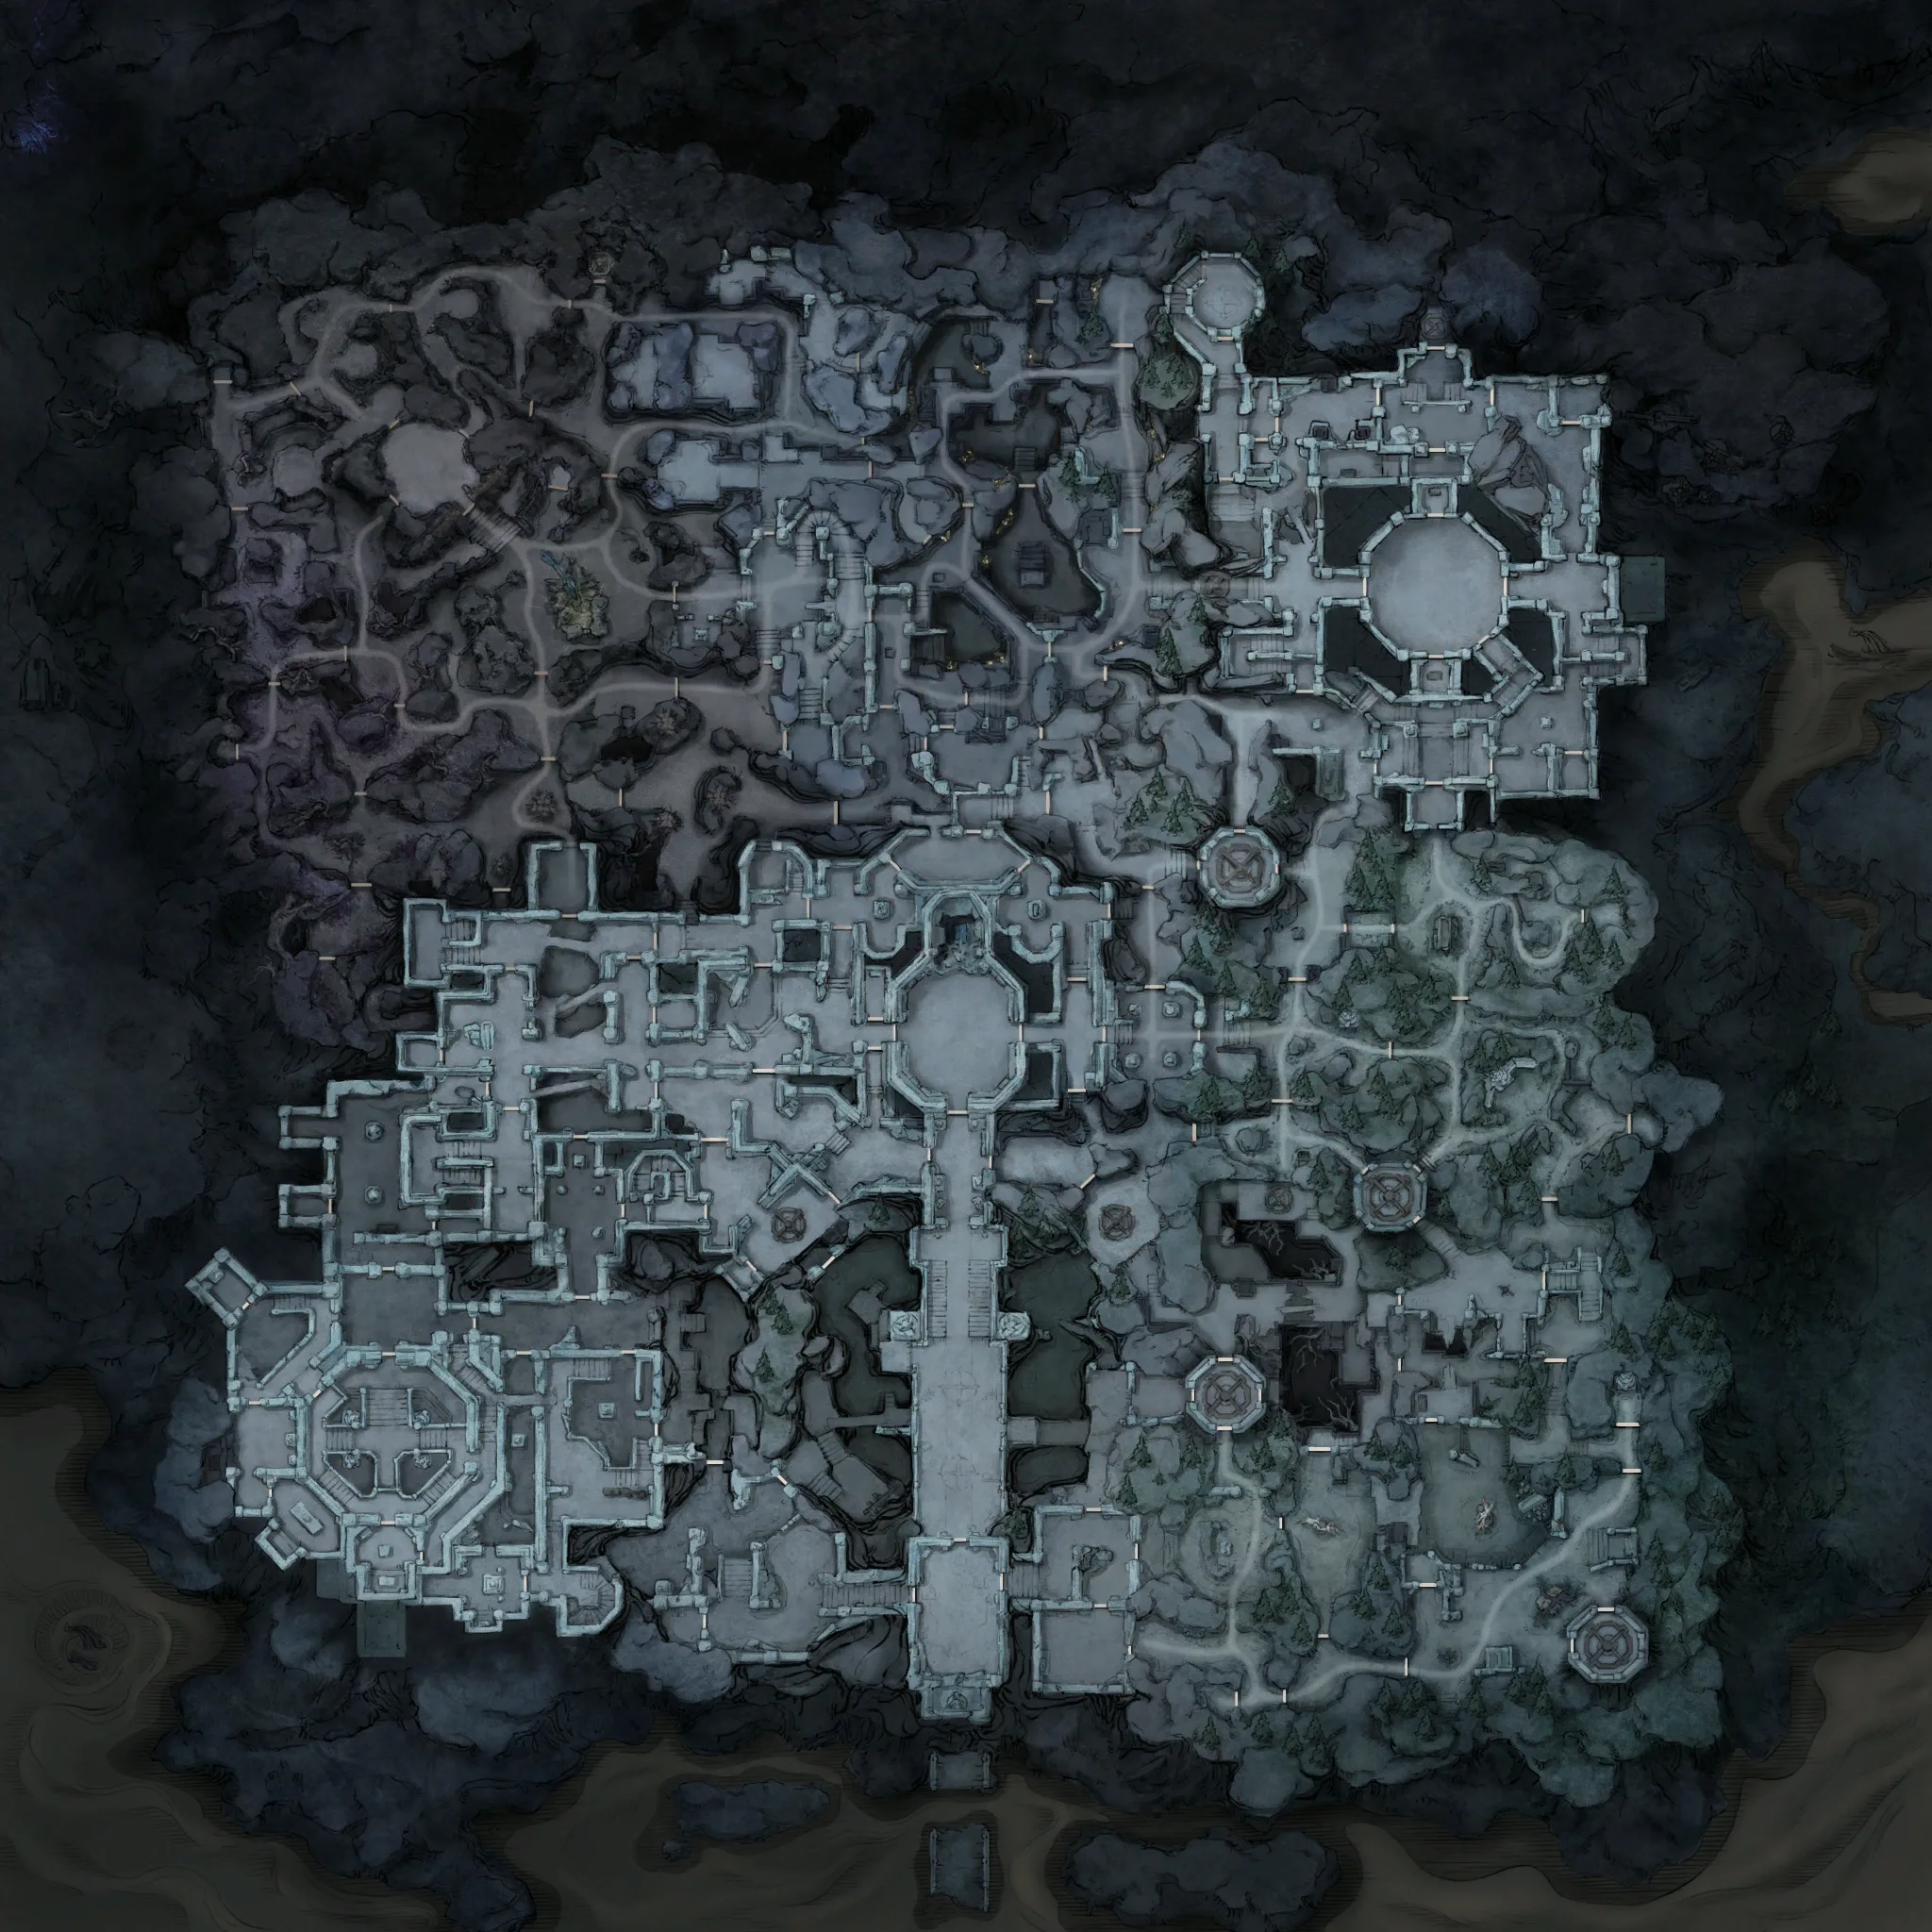
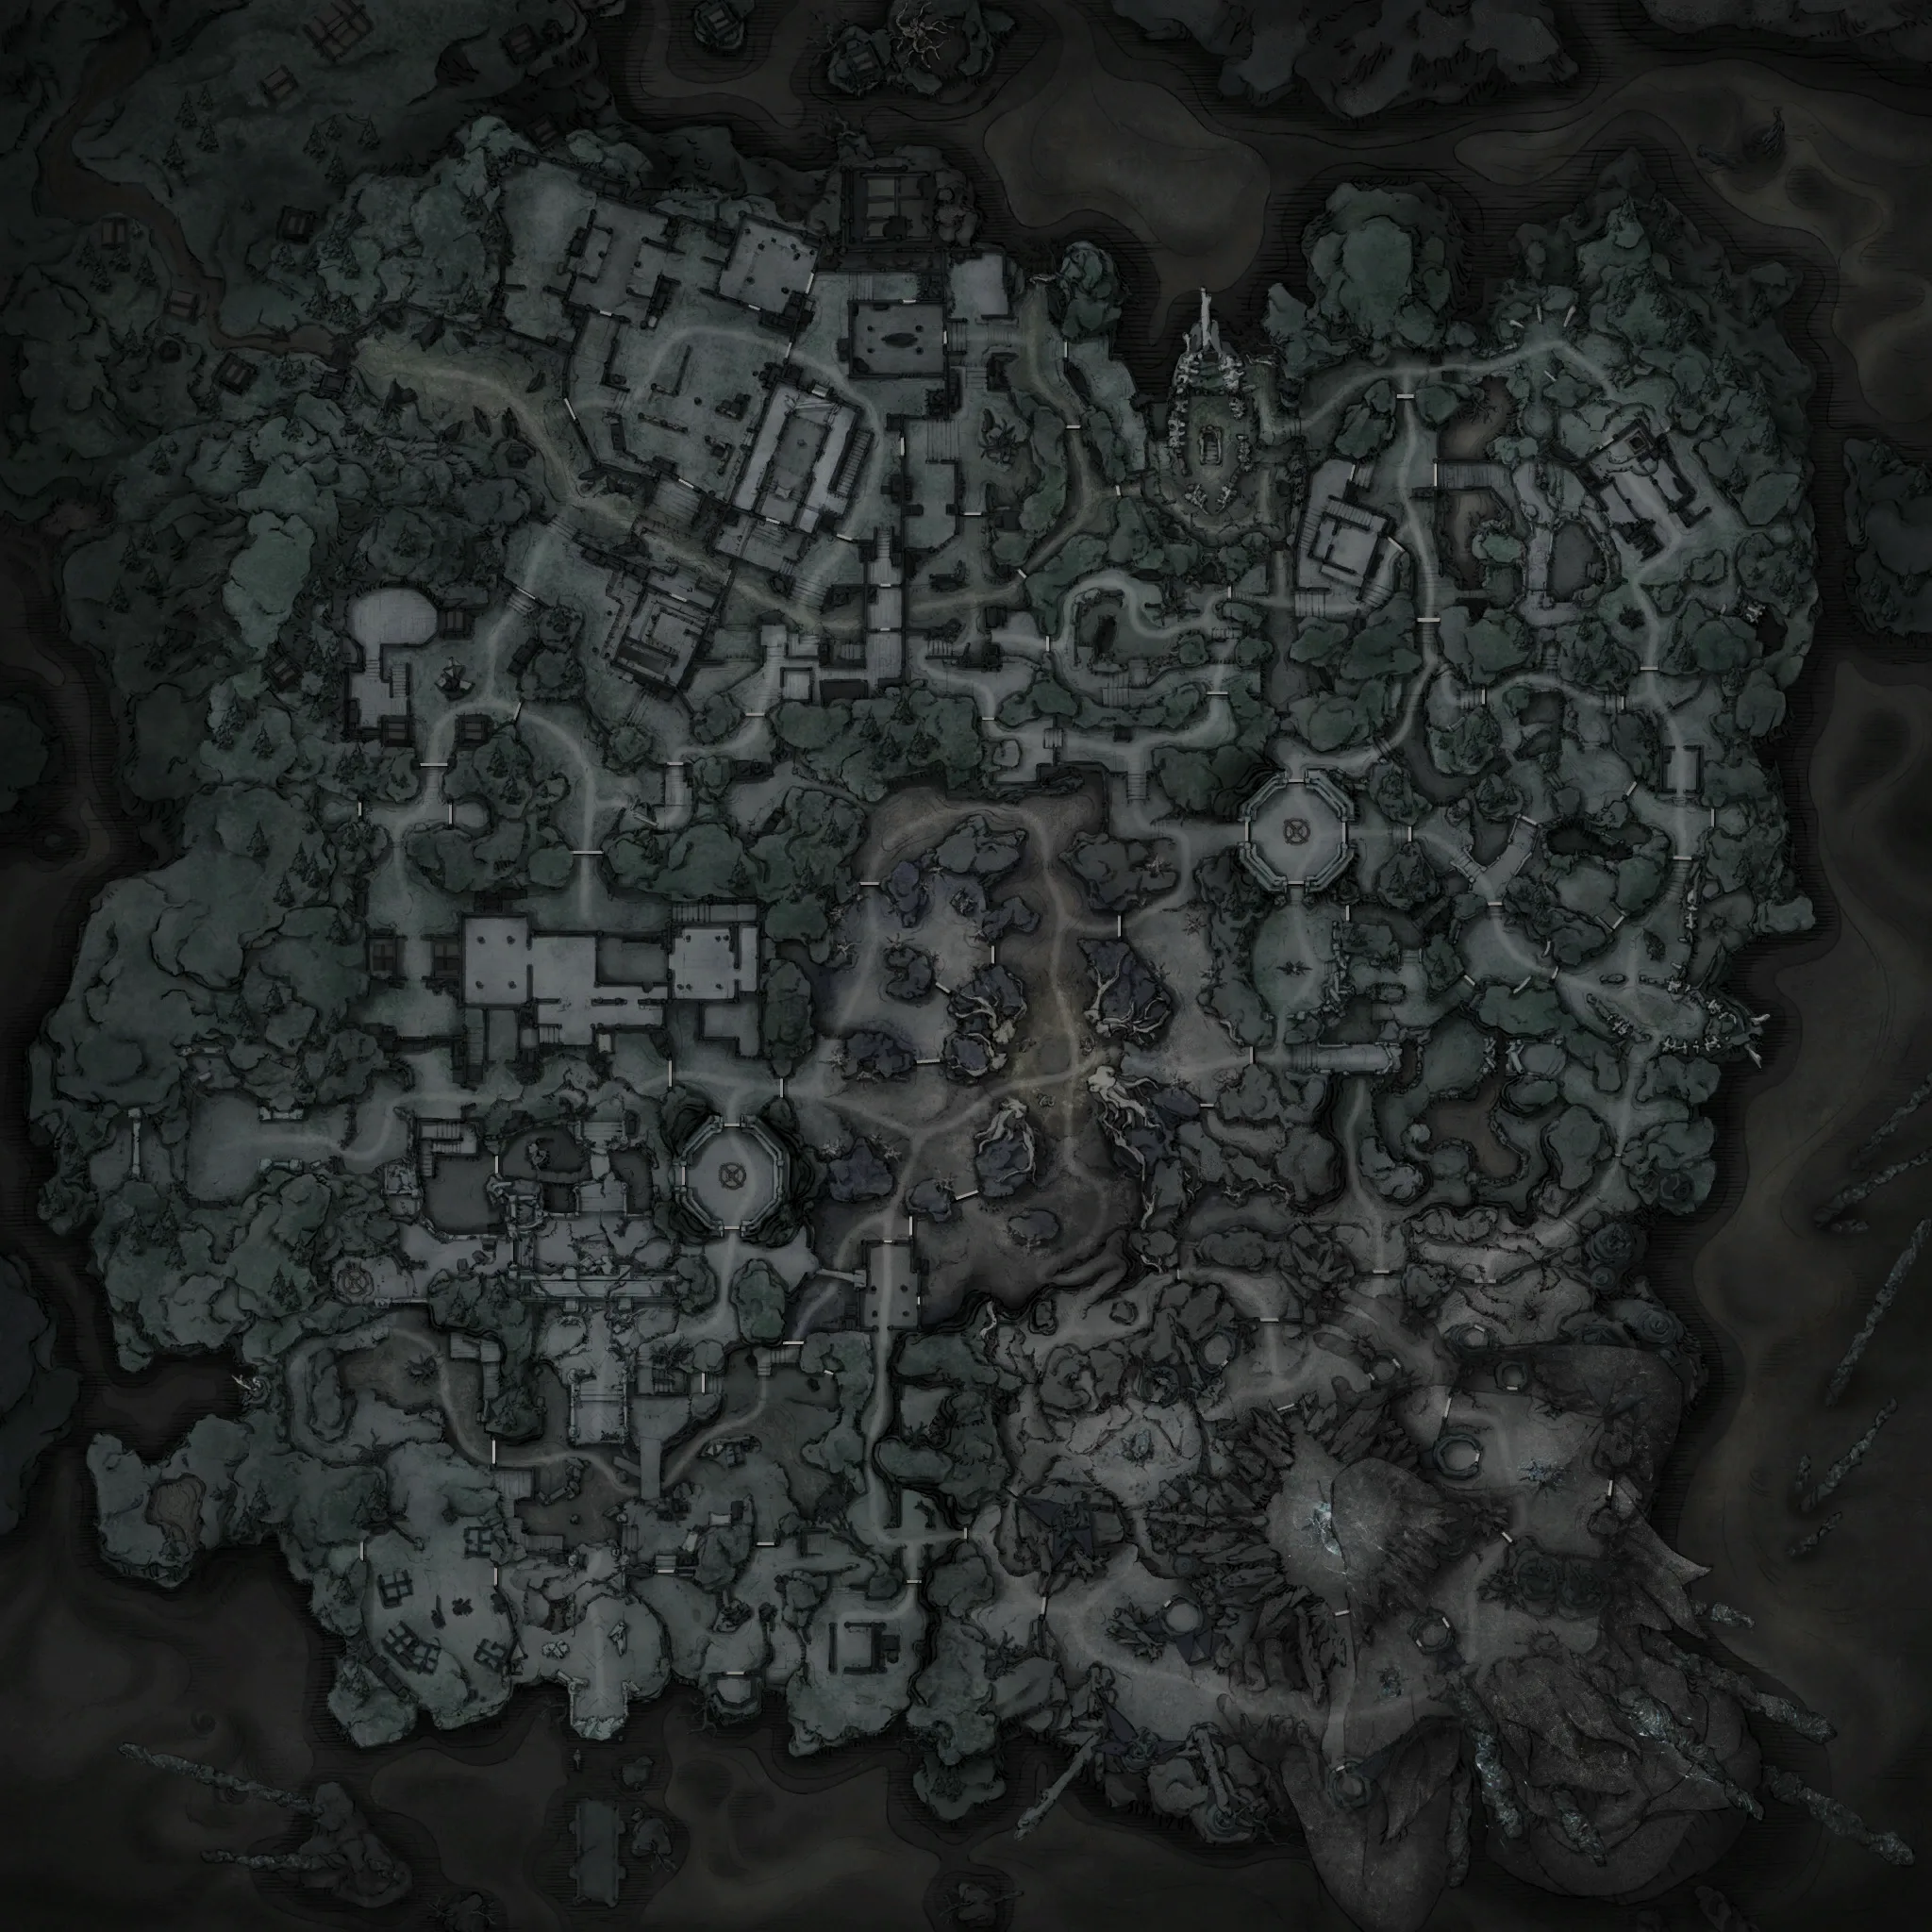
Reference sheets
The plain zone art, with a switcher for each named sub-area. These carry no chest or monster markers — for those, use the interactive maps above.
Zones & Gyldening Intensity
Each zone runs at escalating intensity tiers. Higher tiers mean deadlier monsters and harder extraction — but a higher gear cap and more XP. Entry tiers gate behind a clearance requirement.
Brandrgarde
- Gear cap
- Epic
- Escape XP
- 55
- Clearance req.
- 300
Compared to regions with chaotic Gyldening Intensity, normal areas are far more docile. Monster numbers and strength are manageable, the environment is relatively safe, and escape is easier. Still, don't let your guard down—carelessness can cost you dearly.
- Gear cap
- Holy
- Escape XP
- 65
- Clearance req.
- 2,500
Soekja brings word from the Mistchasers—deep within Brandrgarde, Gyldening has worsened, growing chaotic beyond measure. The air hangs heavy, shadows writhe, monsters roam in packs, and danger lurks everywhere. Yet if you have the courage to venture forth, greater loot awaits within... along with a more perilous journey home.
Hallowgrove
- Gear cap
- Excellent
- Escape XP
- 50
Compared to the territories entirely consumed by Gyldenization, Hallowgrove in Normal mode still holds a fragile peace, making extraction far easier. Though danger lurks among the trees, most monsters have yet to completely lose control, granting Gyldhunters a fair chance to scavenge and escape under the watchful gaze of the Divine Anchor.
- Gear cap
- Holy
- Escape XP
- 65
- Clearance req.
- 800
Unrestrained souls and the Gyldenmist intertwine, dragging the entire Hallowgrove into absolute chaos. Monsters grow increasingly frenzied and lethal, and once-serene areas warp under relentless mutations. The souls trapped here are gradually losing the very shape of humanity. This place is no longer a forest, but an ever-spreading nightmare.
Map legend
What the markers mean when they appear on your in-game map.
- Warp Rift
- Interact to teleport to another rift location.
- Updraft Current
- Interact to leap to another updraft location.
- Climb Ladder
- Previous Floor
- Next Floor
- Small Treasure
- Medium Treasure
- Large Treasure
- Lord
- Mist Lords possess immense power; do not challenge them lightly without thorough preparation. Once a challenge begins, the area will be sealed, preventing other Gyldhunters from entering.
- Loosened Seal
- Underlord
- Underlords occupy specific areas and possess immense power. Defeating them yields bonus rewards. Once a challenge begins, the area will be sealed, preventing other Gyldhunters from entering.
- Journey
- Exploration Task
- Task Objective
- Enriched Resource Zone
- This area is rich in resources and contains extremely valuable treasures.
- Supply Chest
- The supply chest contains various equipment and items that may be useful in battle.
- Richie the Merchant
- Looking for treasures? Got some junk to offload? Come to Richie—you won't find a better bargain!
- Ancestor Tree
- Once the Ancestor Tree awakens, numerous Gifts of Fate will manifest nearby.
- Treasure
- Soul Cocoon
- A Velgr relic said to be inspired by Loghva, possessing a powerful ability to harvest and control souls.
- Fate Altar
- Soul Tree
- When near the Soul Tree, you can ring the chime to escape. The Soul Tree will wither after a certain period, after which it cannot be used to escape.
- Smuggler Woodling
- After interacting with a Smuggler Woodling, you can safely extract, but you can only bring out equipped items and a limited selection of items.
- Returner Woodling
- A Returner Woodling will make an appearance every now and then. Defeat it to obtain a Soul of Return.
- Returning Chime
- Interact and wait a moment to awaken a nearby Woodling. Defeat it to escape.
- Soul Ferry
- Interact with the Soul Ferry and submit the required number of Soul Threads to safely escape. Soul Threads can be looted from enemy Gyldhunters.